getting started
Getting Started with GoColosseum Marketplace
Learn how to set up your account, join organizations, and begin your journey with GoColosseum Marketplace.
Create Account
Creating an account is the first step to accessing the platform's features, providing you with a personalized profile and secure access.
From the marketplace landing page or login page, follow these steps:
- Click Join Marketplace on the landing page, or click Sign Up if you're on the login page.
- Choose your access level: Government, Commercial, Academic, or Non-Profit.
- Enter your email ID and click Next.
- Fill in your details, including First Name, Last Name, Affiliation, and Nationality, then click Next.
- Enter the OTP sent to your email to verify your account.
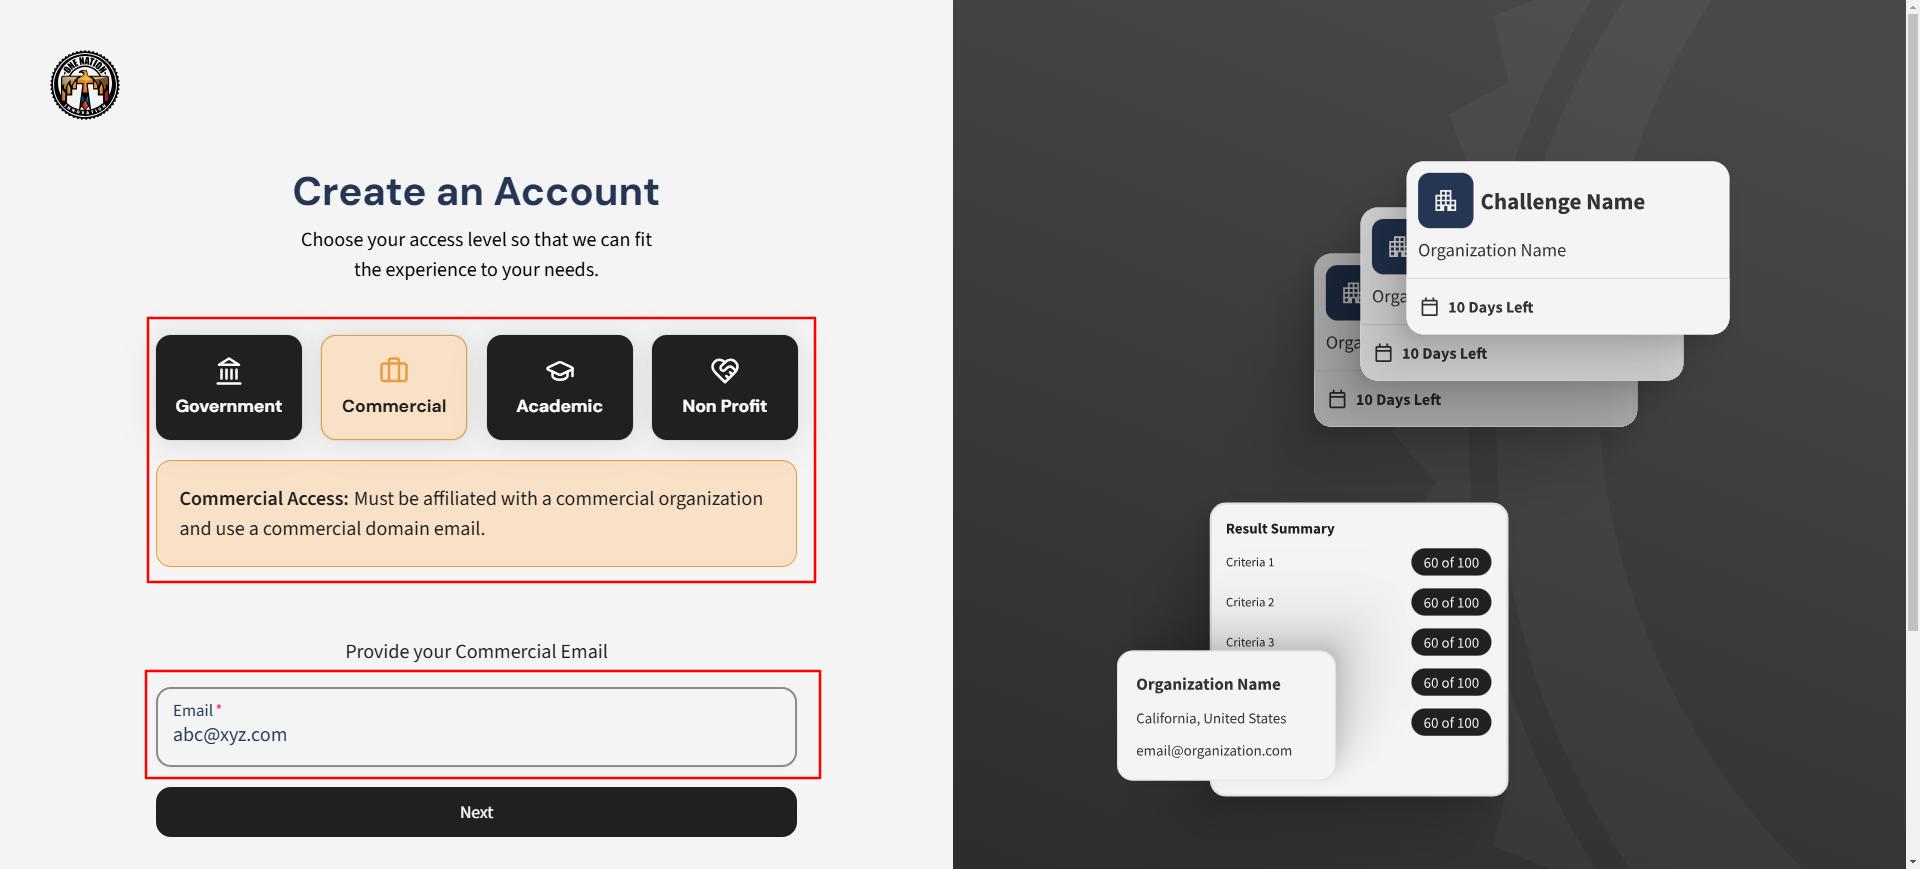 Figure 1: User completing the account creation process. Watch video here
Login
Logging in allows you to securely access your account and start using the platform's features.
From the platform's login page, follow these steps:
- Enter your registered email address and password.
- Click Login.
- Enter the OTP sent to your email to verify and access the platform.
 Figure 1: User logging into the platform. Watch video here
Forgot Password
If you've forgotten your password, you can reset it quickly using the Forgot Password feature.
From the login page, follow these steps:
- Click Forgot Password.
- Enter your registered email address and click Submit.
- Enter the OTP sent to your email.
- Create a new password, confirm it, and click Save.
 Figure 1: User resetting their password via the Forgot Password feature. Watch video here
Updating Personal Information
Updating personal information ensures your profile remains accurate and up to date.
Currently, you cannot edit your profile directly. To update your information, follow these steps:
- Navigate to the Support Section.
- Submit a request detailing the changes you need.
- Our support team will review and assist with updating your profile.
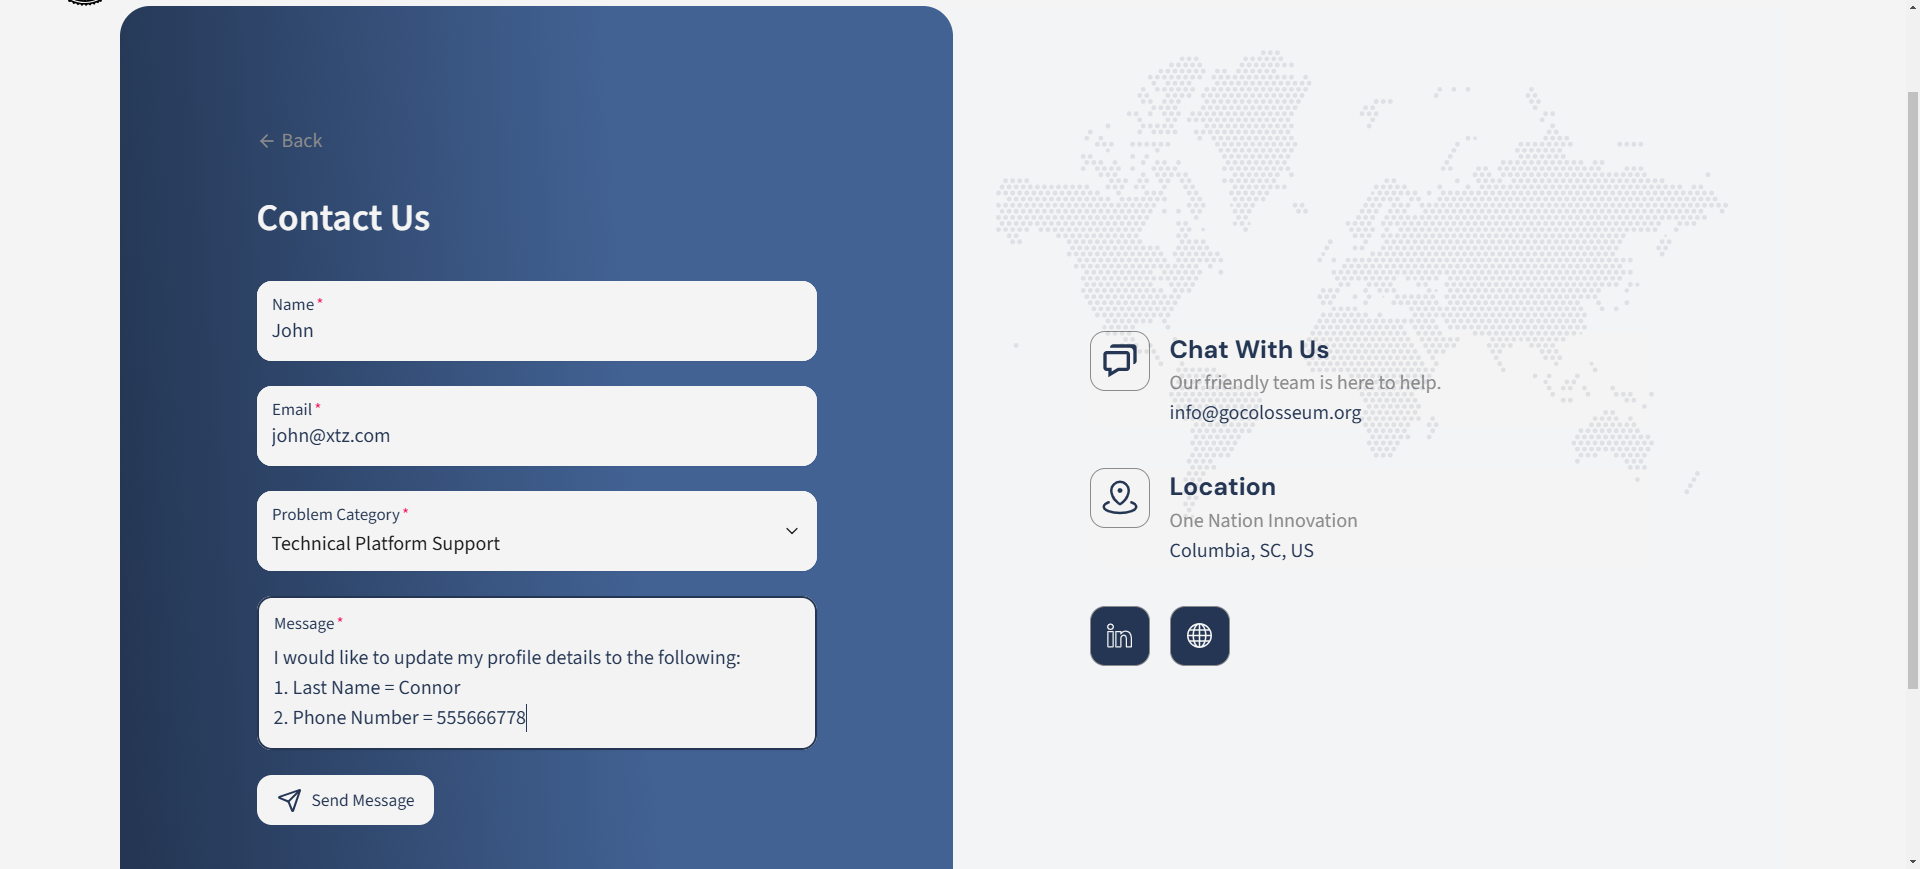 Figure 1: User submitting a profile update request via the support section.
Tags Selection
Selecting tags helps personalize your experience by associating you with specific areas of interest or expertise.
Currently, you cannot edit the tags section directly. To update your tags, follow these steps:
- Navigate to the Support Section.
- Submit a request specifying the tags you'd like to add or update.
- Our support team will process your request and update the tags.
Joining an Organization
Joining an organization allows members to participate in challenges and access resources associated with the organization.
From the Top-Right Navigation Menu, follow these steps:
- Select Organization > Join Organization.
- Use the Search Bar to find your desired organization.
- Click Join Organization to submit your request.
Your request will be sent to the organization admin for approval. Upon approval, you will receive a notification and gain access to the organization's challenges and resources.
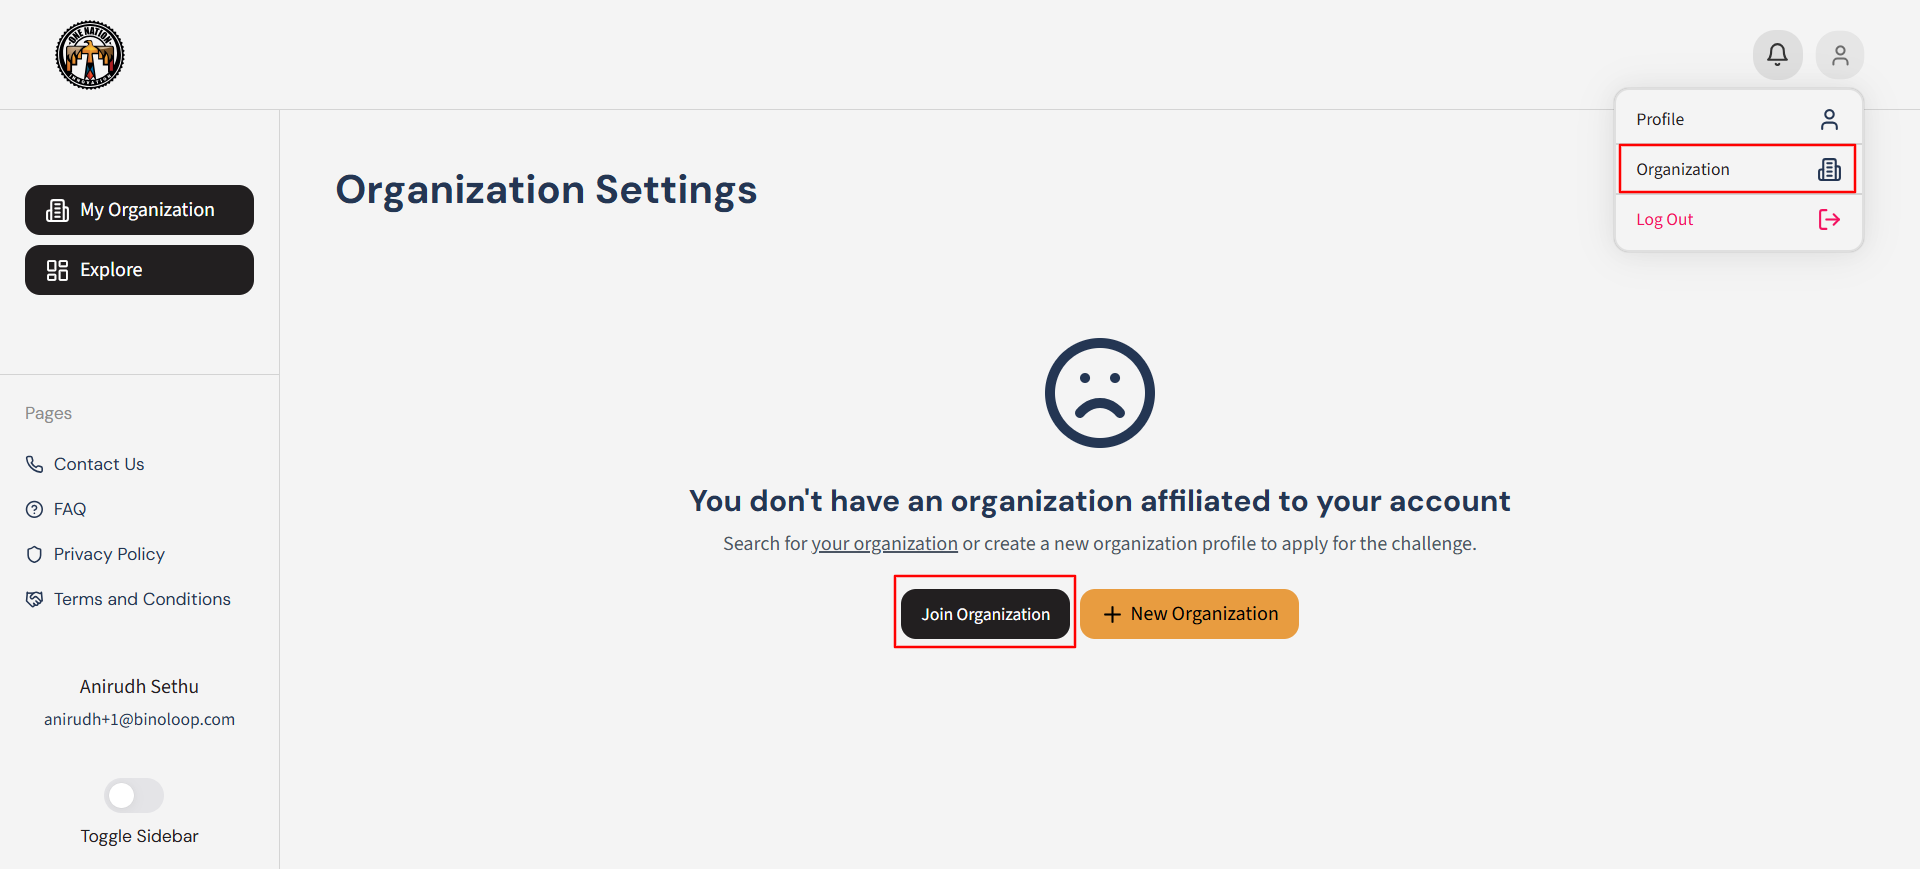 Figure 1: User clicking join organization. Watch video here
Creating a New Organization
Creating a new organization allows you to establish a unique group within the platform to manage members, challenges, and organizational settings.
From the Top-Right Navigation Menu, follow these steps:
- Select Organization > + New Organization.
- Enter the required information, such as the organization name, description, and tags.
- Add socio-economic designations (if applicable) and provide your contact details.
- Click Create Organization to submit your request.
Your organization request will be sent to the Super Admin for approval. Once approved, you will receive an email notification, and your organization will become active. You can then begin adding members and creating challenges.
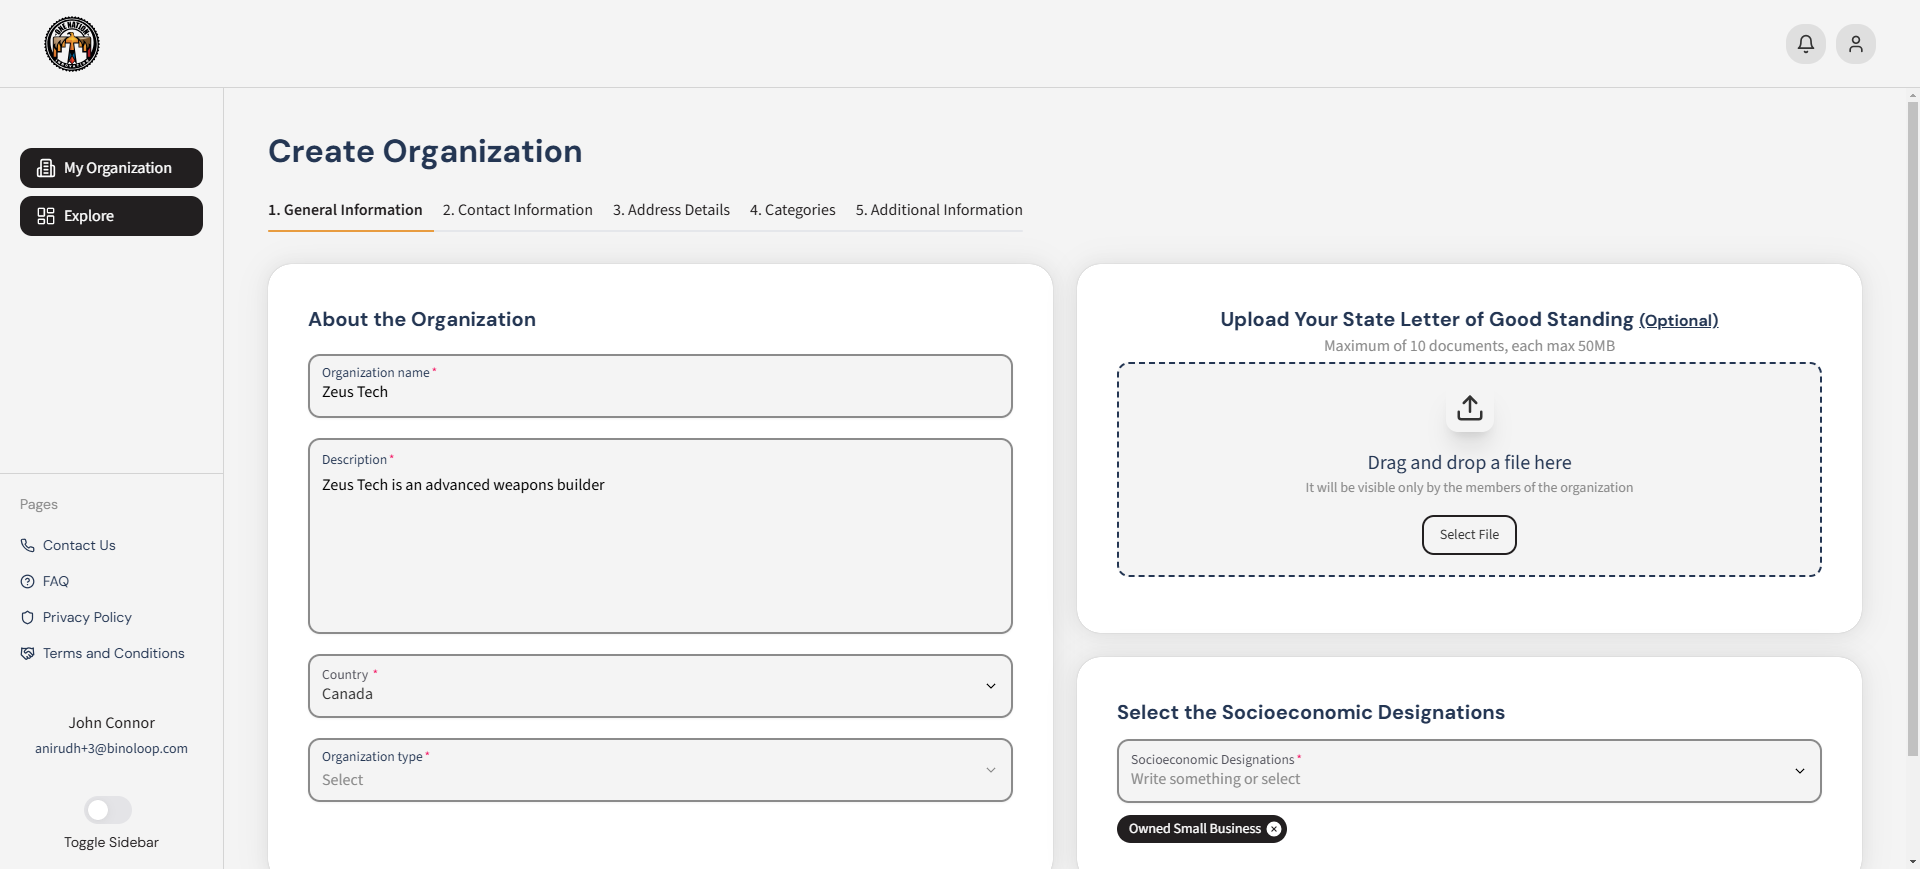 Figure 1: User creating a new organization through the Organization Settings. Watch video here